Hockey How To’s
Behind the Glass #1: The 3 Pillars of Player Development
At The Hockey Hut, our mission is clear:
Maximize athletic development every single day.
We don’t believe in fluff. We don’t believe in shortcuts. And we don’t believe that more ice time automatically means more progress.
For over 27 years, we’ve helped athletes reach the next level, and we’ve learned that true, lasting development is built on three essential pillars: Skill, Hockey IQ, and Mindset.
These aren’t buzzwords.
They’re the foundation of everything we do and everything we expect from the players we coach.
Pillar 1: Skill — Build the Foundation
You can’t fake skill. You earn it, one rep at a time.
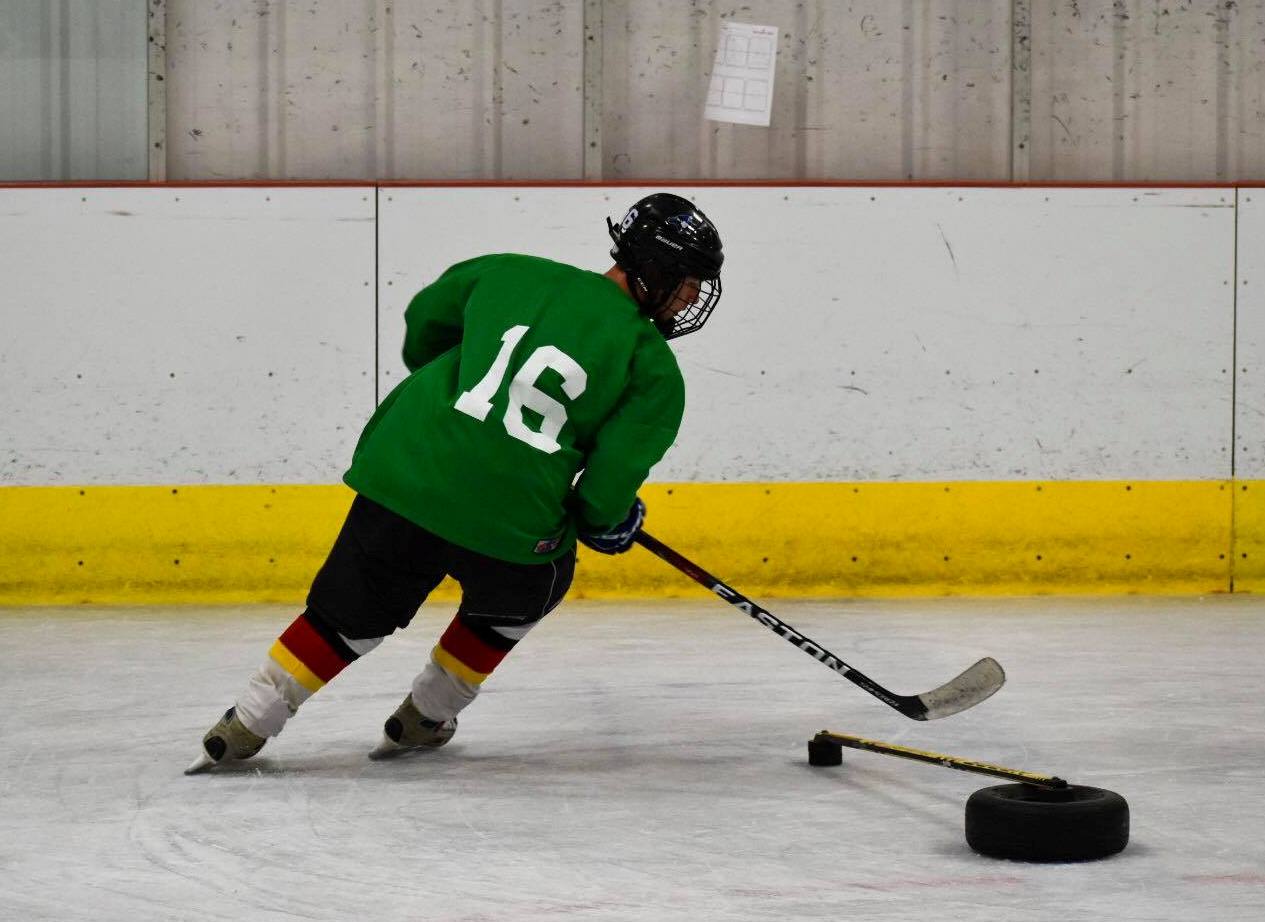
Skill is built through repetition, correction, and intentionality. Our sessions aren’t just about getting touches. They’re about building habits that hold up under pressure. Whether we’re refining edge control, perfecting shot mechanics, or reinforcing puck protection, every drill is designed to create game-ready execution.
If you can’t do it with control in training, you won’t do it in a game.
That’s why our semi-private training is so targeted. We give players the space and structure to drill deeper and dial in the technical pieces that separate them on the ice.
Pillar 2: Hockey IQ — Think the Game
Raw skill fades when you don’t know where to be or what to do next.
We train IQ by forcing decisions: small-area battles, puck support scenarios, and game-like pressure where players have to read, react, and adapt on the fly. Because in today’s game, thinking fast is just as important as skating fast.
The best players aren’t always the biggest or flashiest. They’re the ones who understand the game within the game. They slow down at the right moment. They create time and space. They see the next play before it happens.
That kind of vision doesn’t happen by accident. It’s trained.
Pillar 3: Mindset — Train Like It Matters
Skill gets you noticed.
Mindset gets you remembered.
We coach mindset the same way we coach mechanics: with structure, consistency, and accountability. That means holding players to a high standard, giving honest feedback, and helping them push through the parts of development that aren’t easy or glamorous.
Confidence isn’t something you flip on at game time. It’s built in the quiet hours through preparation, repetition, and grit.
We’re not just developing hockey players.
We’re building leaders, teammates, and competitors. The kind of athletes that impact the game even without the puck.
Why This Matters
Any program can put players on the ice.
But not every program develops them.
What separates good training from great development is the purpose behind the process. That’s what makes The Hockey Hut different.
Our entire system, from summer camps to elite classes to semi-privates, is built around this foundation. Because when we say we’re here to maximize athletic development, we mean it. And we prove it every single day.
Ready to train smarter?
Whether you’re just getting started or chasing the next level, it begins with building your foundation.
Check out our summer programs.
Get your free on-ice assessment.
And take your development Behind the Glass.
How to Tie Hockey Skates
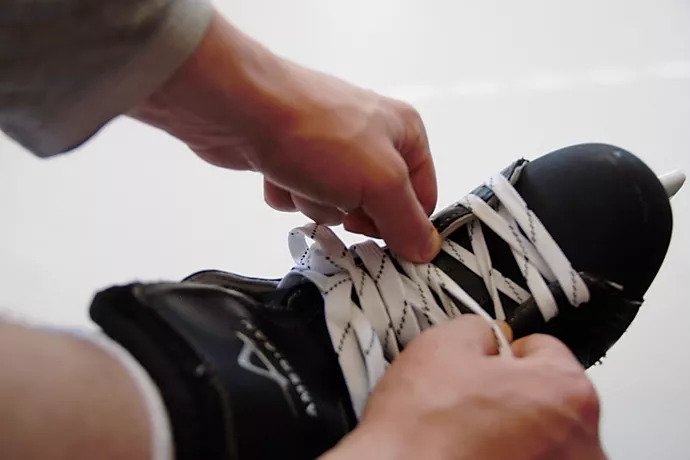
Hockey Hut How To: Tie Your Skates
Tying hockey skates is not as difficult as you might think, but if you want a comfortable fit so you can spend long hours on the ice without your feet blistering, then tying your hockey skates correctly is going to be very important.
5 Simple Steps To Tie Your Skates
- Start by making sure your skates are loose enough to put on your foot. Loosen top two eyelets, pull the tongue back and put your foot in the skate.
- Once the skates are on your foot, start from the toe and pull each lace a little so it’s not loose.
- Go back to the top of the boot near the toe and grab each lace, and pull tight. To prevent each skate from becoming loose.
- For younger skaters, wrap your laces around your hand and pull, using all your force to tighten your skates.
- Time to tie them! With shorter laces, you don’t have to wrap around, tie like traditional sneakers in a double knot. If you have longer laces, people wrap them around skate to keep yourself from tripping on them on the ice.
Tips For Ensuring You Tied Your Skates Correctly
-
If you get out on the ice and are feeling like a bender, that means your skates are too loose around your ankles, so go re-tie them a little tighter.
-
If you get out on the ice and are feeling like your foot is no longer there and is getting numb, that means you tied it way too tight near your ankle and it needs to be a bit looser.
Taking Off Your Skates
When you’re done skating, you might feel too tired and cold and just want to take your skates off and leave ASAP. But if you don’t loosen your skates all the way, so your foot slips out with ease, you will kill your skate.
Yanking your foot out, or stepping on the heel will damage your skates. Respect the skate, take your time, and unlace the first few eyelets and then loosen the rest. Then, your foot should pop right out, and your skates will last longer.
How to Maximize Your Lesson
How to Maximize Your Lesson
Private lessons are the perfect opportunity to work one-on-one to reach your desired goals. However, if you genuinely want to get the most out of your private lesson, it’s up to you to maximize your time on the ice. If you’re looking to maximize your lessons, build your confidence, and elevate your game, then follow these steps during your private lessons are the best way to reach that goal.
Come Prepared
When you walk into your lesson, know what you want to work on, or need to improve on. If your coach asks you what you need to work on, probably the last thing he or she wants to hear in response is, “everything.” And this response is not consistent with the idea of owning your training anyway. Be proactive by bringing a list of some skills or areas you’d like to focus on.
Positive Attitude
You’ve made a special effort to arrange a time with your coach and benefit from their expertise. Be happy about it! Use this time for collaboration, enthusiasm, respect, and engagement. Your coach might ask you to try new things – posture, drills, techniques. If your coach offers a suggestion, be open to it! Some things might work, and some might not, but having a positive attitude and a willingness to try keeps you open to learning and developing as a player.
Listen to Your Coach
It can be hard to let go of control or think you know best when you get on the ice for a private lesson. During your lesson, be intentional about listening to your coach and trust that there’s a reason why they are asking you to run those drills, practice your shot, or repeat a specific technique several times. Put all of your energy into executing the skills to the best of your ability, and let your instructor do the rest. You came to them for a private lesson for a reason!
Bring a Friend
A great way to get the most out of what you learn in your lessons is to have someone else in the lesson with you (not just your coach!). When you have a friend or teammate join your lesson, your coach can show techniques on the other person so you can see the details, and then you can do the same so the coach can watch and make corrections. You can work together to learn and refine your skills during the lesson, and afterward as well.
Take Notes
Whether you still use a pen and paper or your “notebook” is your phone, bring something where you can jot notes. Some instructors even allow you to film techniques during your lesson. However you take notes, take them so you can reference them later. If you don’t, you’re bound to forget a lot of the material by the time you find time to practice later on. It’s also helpful to go back to these notes weeks and months and even years from now when you want to brush up on a particular topic.
Ask For More
You’ve taken the time to train with a coach, but you want to continue working and developing your skills after the lesson ends. Whether it’s new skills to review, conditioning recommendations, or additional practice suggestions, ask your coach for clarity. Knowing what your next focus is will help you reach your goals, one step at a time.
You’ve got ways to maximize your private lesson, but you might be wondering, Is it worth it? We want to help you understand the value of your private lesson experience. Download your free guide below!
Are Private Lessons Worth It?
Sign Up to Get Your Free Guide