New to Hockey
A Parent’s Guide To Start Playing Hockey
With youth sports being so specialized these days, it can be challenging to know when your child can begin playing hockey and how to get started. Start too early, and they could become discouraged, yet start too late, and it can seem like they could fall behind. Every child is different, and hopefully, this article can help you identify when yours is ready to step on the ice.
As a hockey parent looking to get your child into hockey, we’re sharing the best tips to help get you started in the game, and what you can expect when your child starts playing.
When To Start Playing Hockey
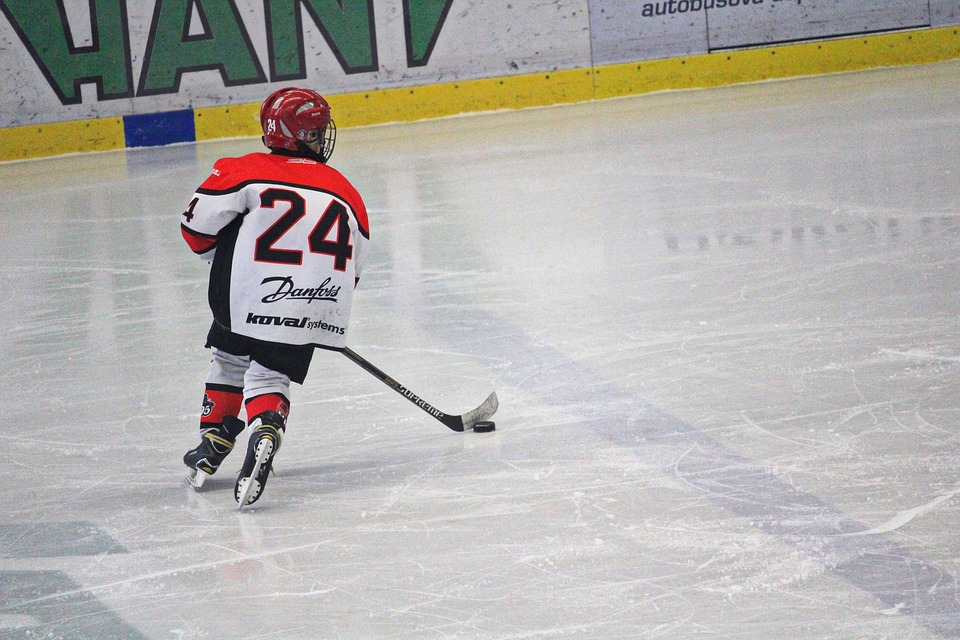
The earliest age kids can begin playing organized hockey is five years old. For families that want players to learn the skills without being on a team, some programs are a starting point available.
How To Start
The best way to start is by getting on the ice and going for it! Depending on your level of experience, players can start learning how to skate, take private lessons, or join a team.
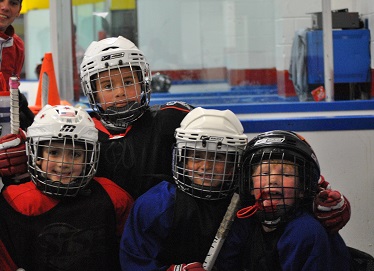
Hockey Tots program is the easiest way to introduce your 2-6-year-old child to the great sport of ice hockey in a safe, controlled environment taught by our professionals!
This 6-week program is a great way to enhance their balance, hand-eye coordination, and overall athletic motor skills while on the ice. Kids start their first three weeks on sneakers and are transitioned to skates for their last three weeks.
See the progress one player made over six weeks
Learn To Skate
The Learn to Skate program helps young skaters to become more confident in their skates before introducing a hockey stick and puck to the lessons. Open to skater’s ages 6-14 years old.
When you join Hockey Hut’s learn to skate class, you’re learning from our professional ice skating instructors, who create a great experience for beginners. All skaters are grouped according to skill level, and they learn bucket-pushing, swivels, inside & outside edges, stopping & starting, and much more!
Learn To Play
The Learn to Play program focuses on skating skills but also teaches the basic skills of stickhandling, shooting, and passing. Learn to play will help prepare your player for a 6U/8U season-long program.
After spending six weeks in Learn To Skate or Hockey Tots, players will start their true journey into hockey. Skating is the emphasis, but stick skills, pucks, and small games are all used to create a positive learning environment.
Semi-private lessons will help get you started with the basics and help with good habits.
What Can I Expect From Ice Hockey?
For children, not only is playing hockey fun and the perfect social activity, it will provide them with life-long skills, confidence, teamwork, communication, and decision-making abilities.
When you play hockey, you can expect strong friendships. It’s a sport known for tight team bonds. Players will also develop patience and a sense of responsibility – learning to play is a complex skill that needs coaching and training. Determination, commitment, and practice are the keys to success.
One parent said, “We have seen a lot of improvement in our son’s skills and feel the overall experience is more than just about hockey; it’s about being a good listener, respectful, a hard worker, focused, and of course having fun! We take character development in our child more seriously than any sport skill training and having a great coach that teaches them to be a great person is priceless.”
Congratulations on starting this sport, you are about to begin playing the most exciting sport on earth! This will be a rewarding path for you and your family!
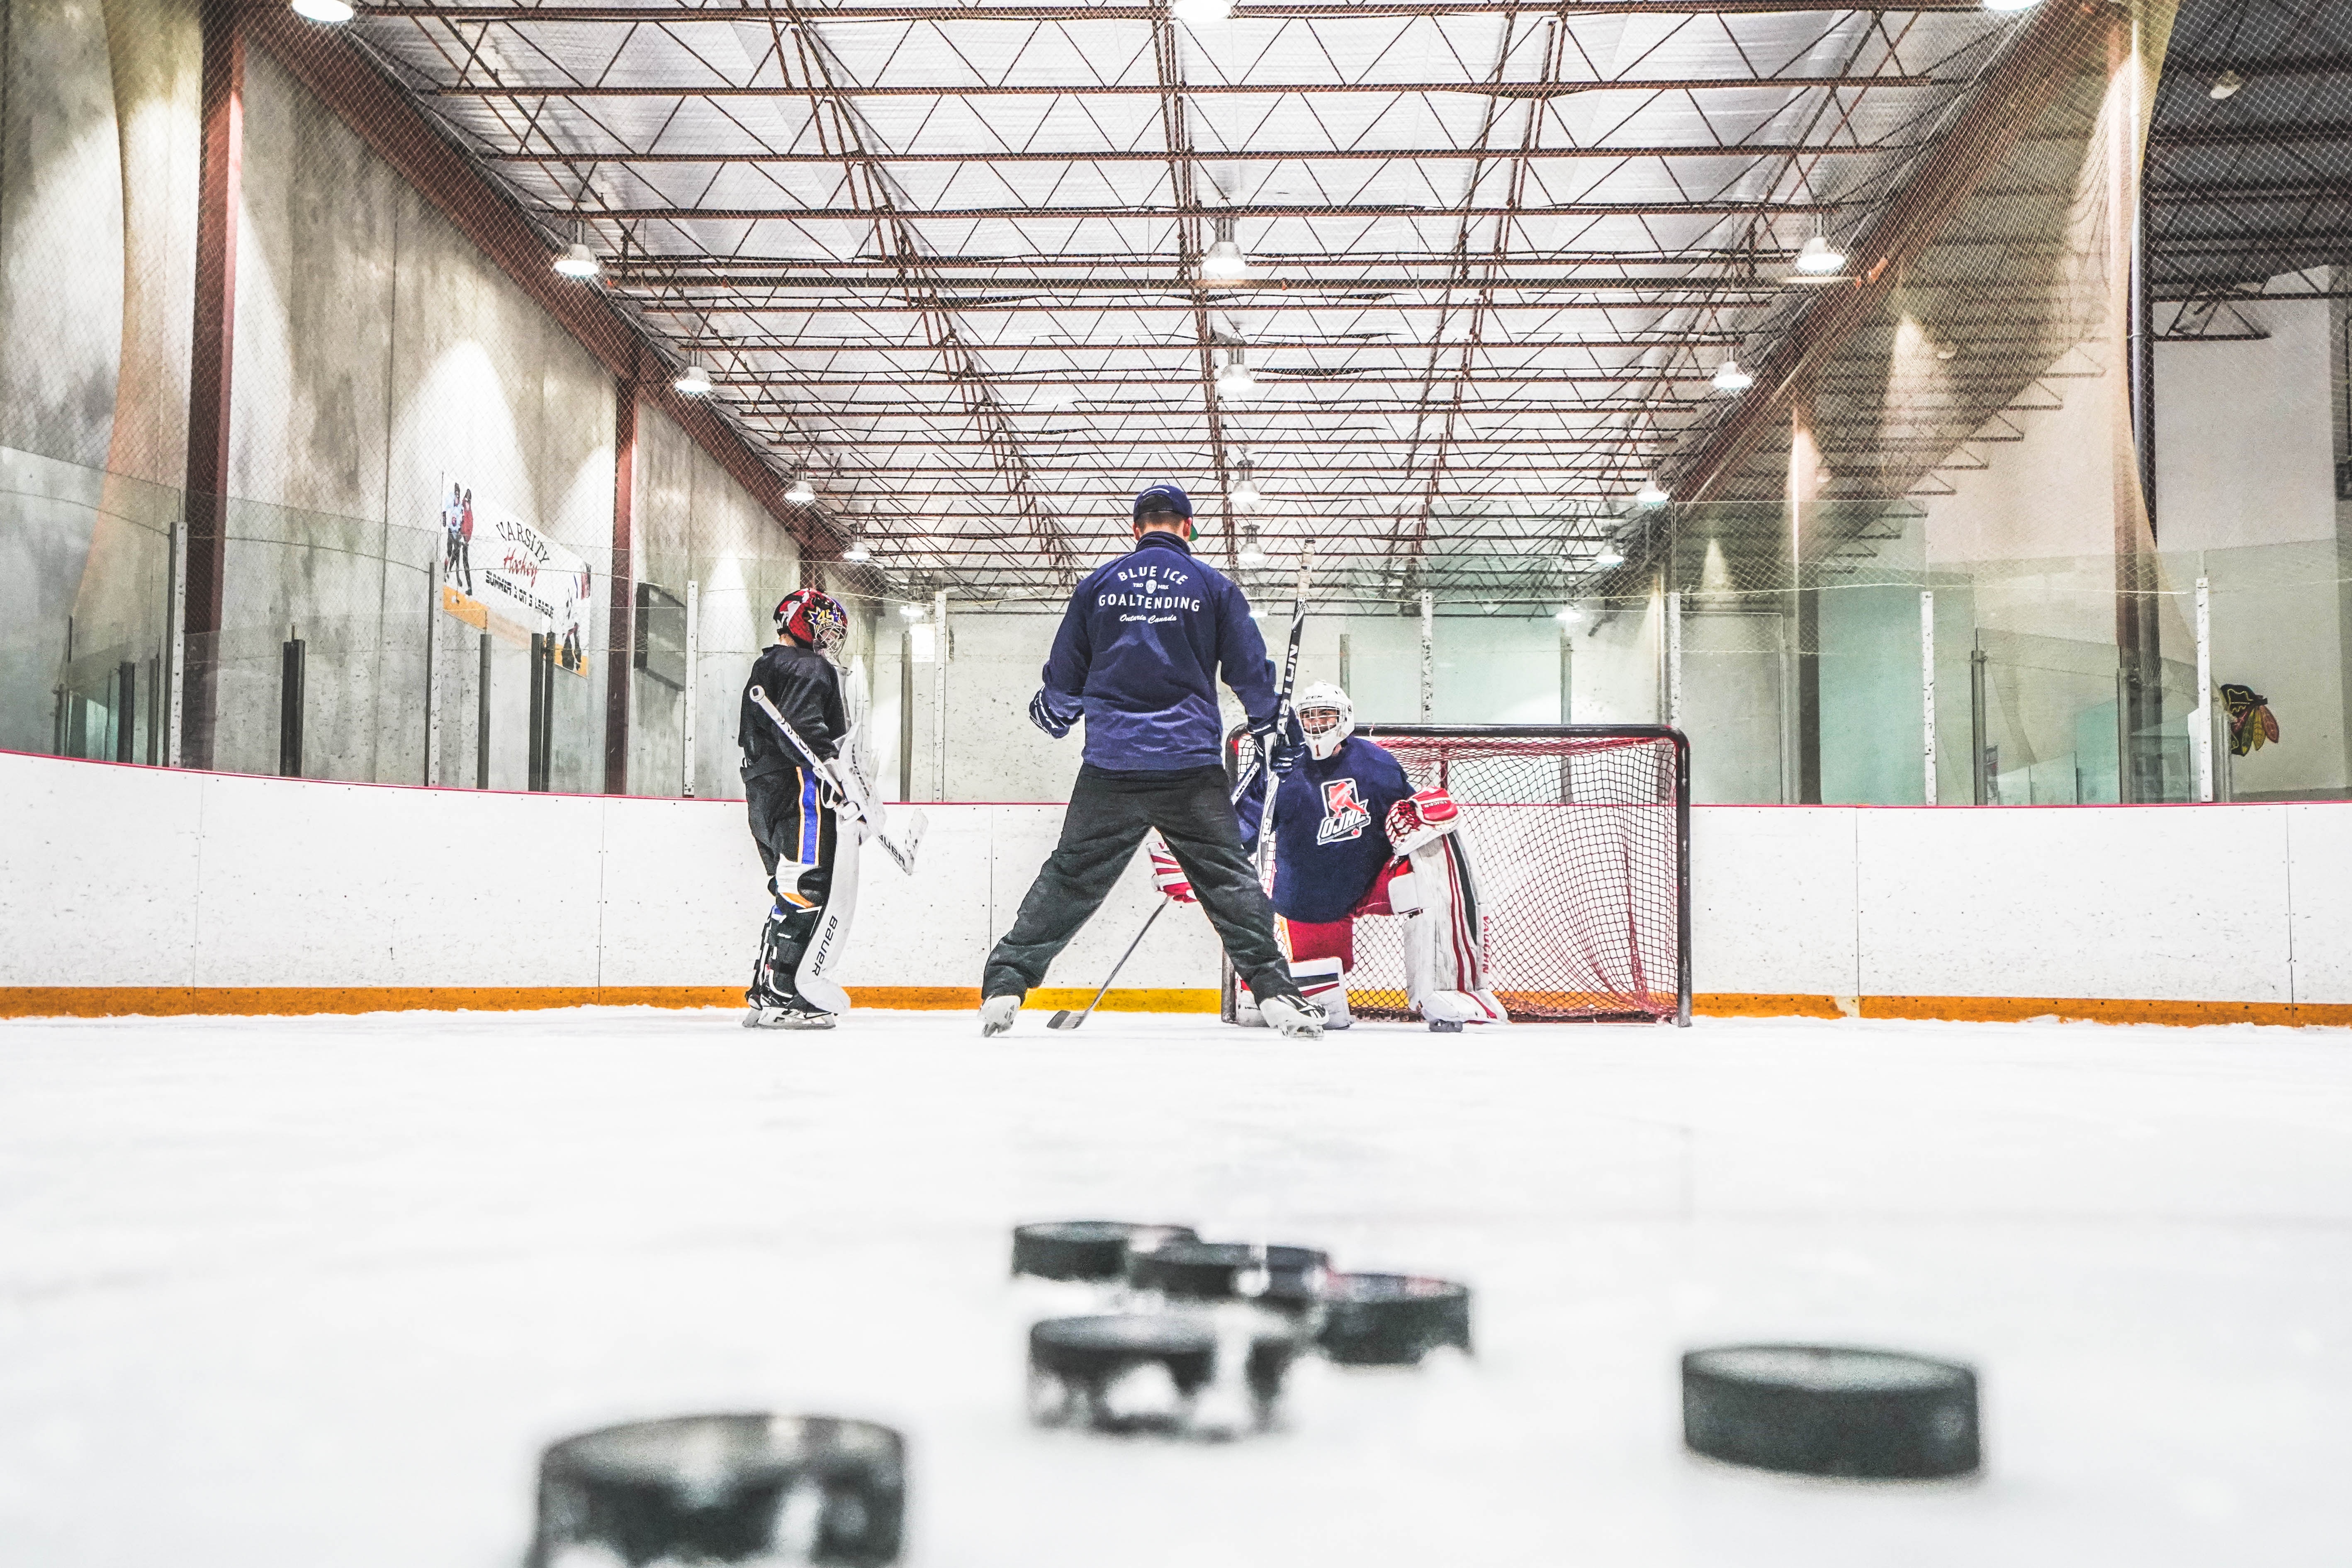
Best Questions to Ask During Private Lessons
Best Questions to Ask During Private Lessons
One of the best reasons to have a private lesson is having someone to motivate you and help you achieve your desired goals. However, if you genuinely want to get the most out of your private lesson, it’s up to you to come prepared, work hard, and ask the right questions. Maximize your lesson and your development by asking these questions.
Can You Help Me?
This lesson is about you – if there’s something you don’t understand, ask for help, a second explanation, or a demonstration. You might feel reluctant to ask for help, but not asking limits your development. Be bold so you can
Where Can I Improve?
If you’re not sure what skills you need to work on, ask for your coach’s analysis. They’ve watched you work on your skills and can offer you insight on how to develop as a player. Whether it’s skating speed, shot accuracy, or passing, your coach knows what can help you improve as a player, what drills can get you there.
Why?
When you do something without understanding “why” the slightest change can leave you feeling unsure about what to do. When the “why” is clear, you can make appropriate adjustments to any changes. Then, you can take the same principles of the “why” and apply it to any other situation to make a better decision.
Can We Review?
At the end of the lesson, ask the coach to review all the skills and drills you covered briefly. Having your coach take five minutes at the end of the lesson to review everything will give you one last chance to jot notes and see your lesson in a broader context.
What’s Next?
You’ve taken the time to train with a coach, but you want to continue working and developing your skills on your own. Whether it’s homework, skills to review, or additional practice suggestions, leave your lesson with clarity on your next steps. Knowing what your next action is will help you reach your goals, one step at a time.
You’ve got the questions to ask during a private lesson, but you might be wondering, Is it worth it? We want to help you understand and maximize your experience. Download your free guide below!
Are Private Lessons Worth It?
Sign Up to Get Your Free Guide